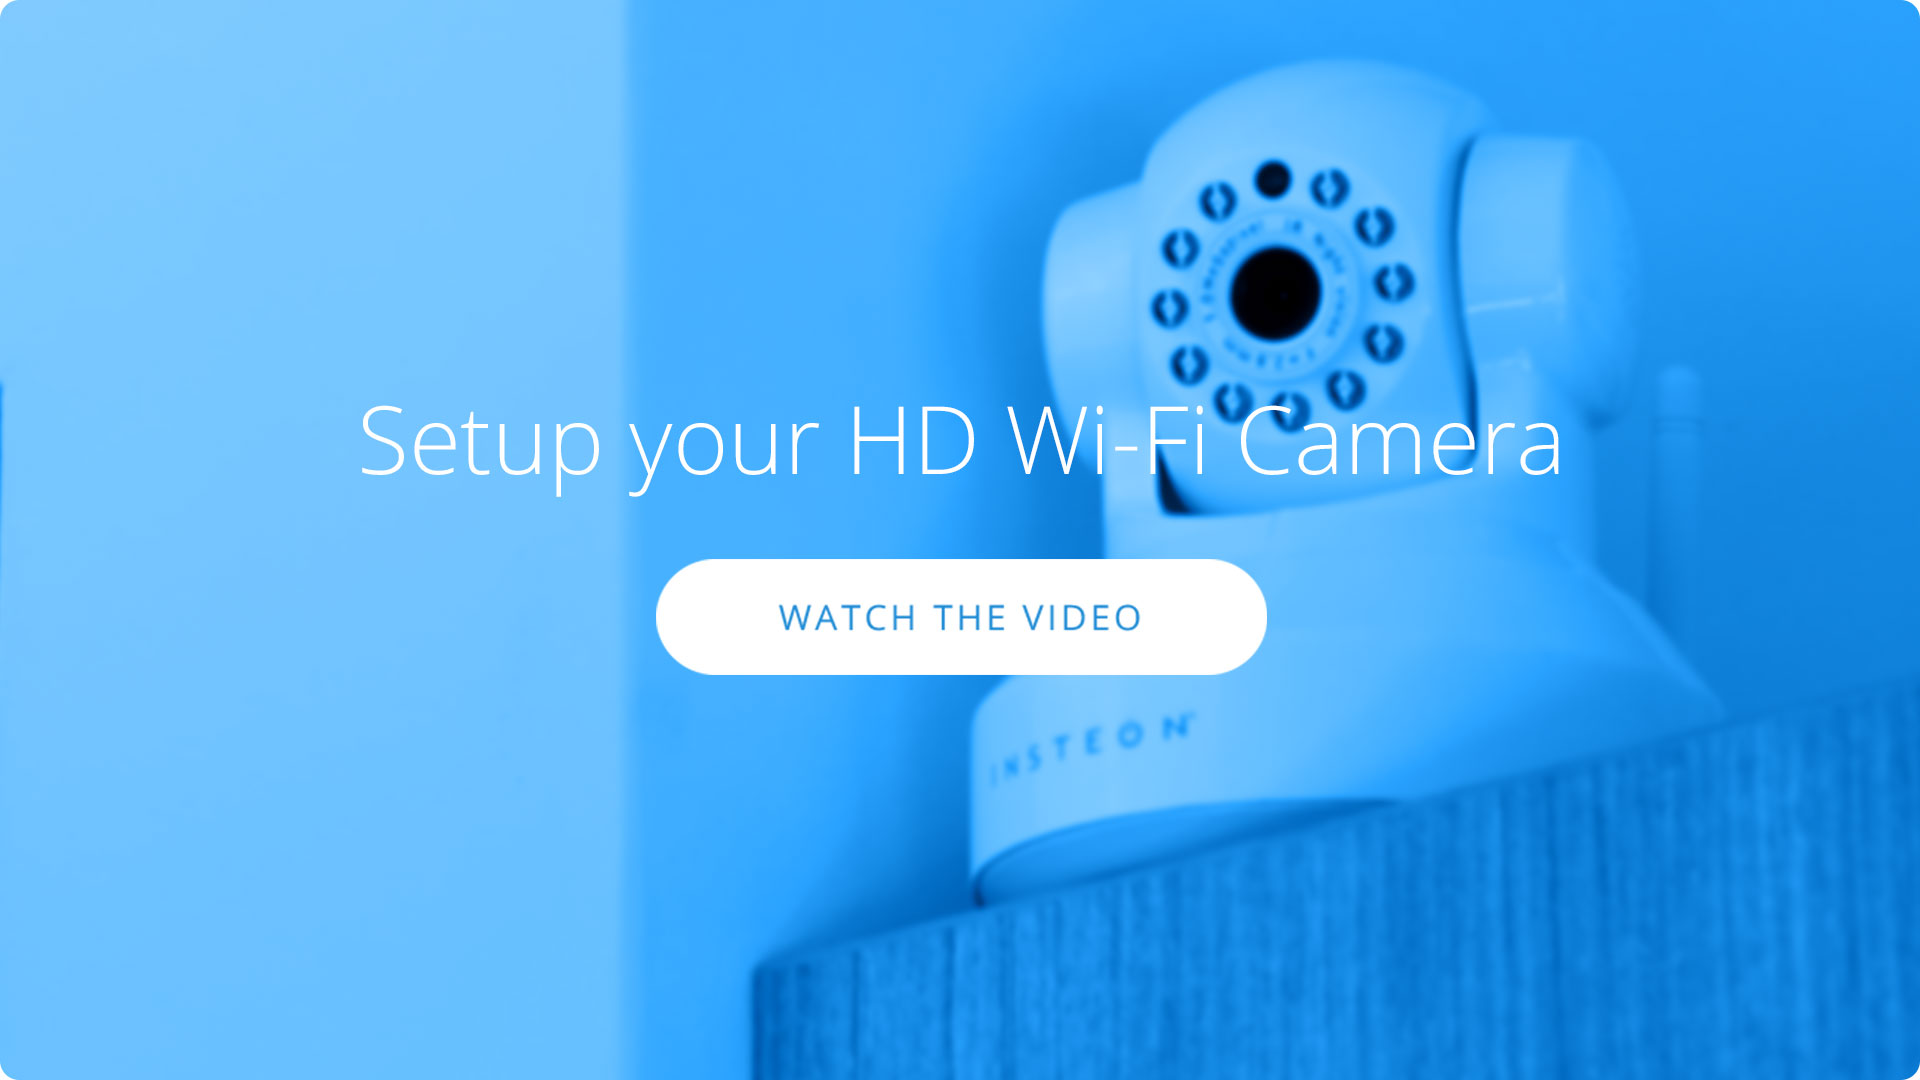
Getting Started

Connect the ethernet cable to your router and plugin the power adapter. You can disconnect the ethernet cable after setup is complete.

Connect the cables to your camera.

Guides, Manuals and Downloads
Quick Start Guide
Featured


Owner's Manual
Featured

Downloads
Featured

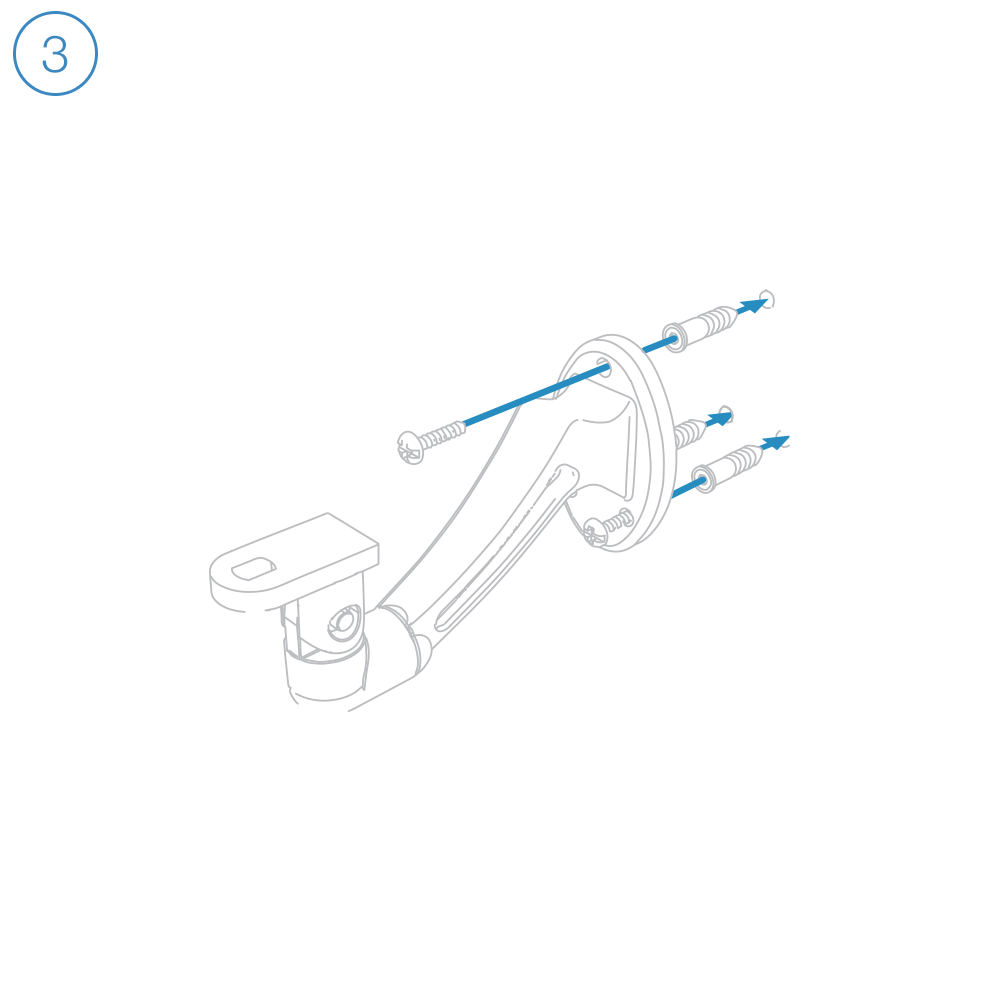
Optional Wall Mount
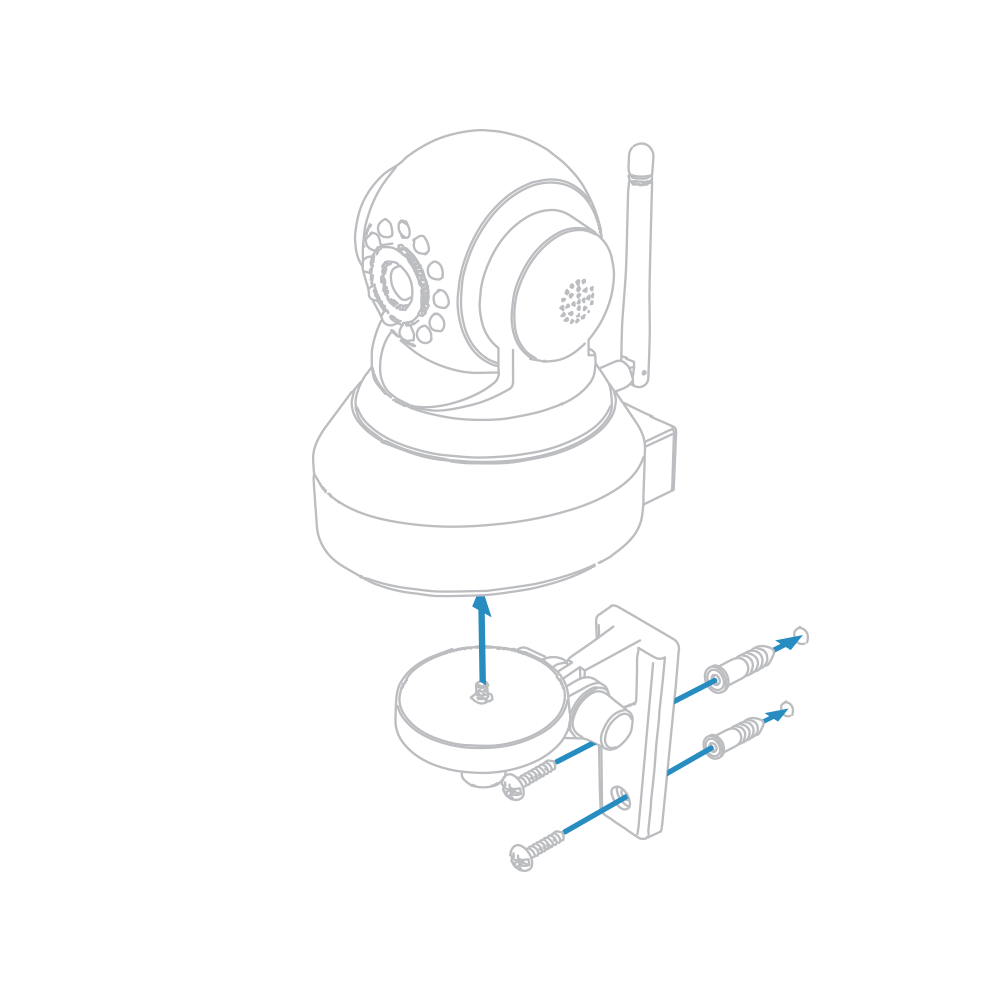
Mount the optional bracket using screws and wall anchors.
Camera Firmware

Current Wi-Fi Camera Firmware
Device 11.37.2.59Web UI 2.001.10.9